

Leaking roofs can affect the interior of your home. To prevent damage, you should move furniture and cover appliances with plastic. In addition, you should inspect the outside of your house for signs of water damage and make any necessary repairs to the outside. Sometimes, you can fix the leak inside your home by sealing the leaks. To do this, you need to keep the tiles in good condition. If the tiles are not removable, you can use roofing tar patches.
Table of Contents
Locating the exact source of a leaking roof
The first step to fixing a leaking roof is to locate the leak’s origin. A roof leak may come from several places, including roof penetrations, chimneys, exhaust pipes, and plumbing lines. To find the exact location, visually inspect the roof area. Look for damaged materials or tiles.
Water dripping from the roof will reflect light, making it easy to spot if you have a flashlight. If possible, spray the roof with a garden hose. Be sure to spend two or three minutes on each roof section. If you find a leak, call for help.
Another method is to climb onto the roof and look for leaking roof vents. If the roof vents are in a leaking location, make sure the flashing is intact. If it is broken or missing, this will reveal the exact source of the leak. Also, some roof vents are placed with nails, so check for loose nails.
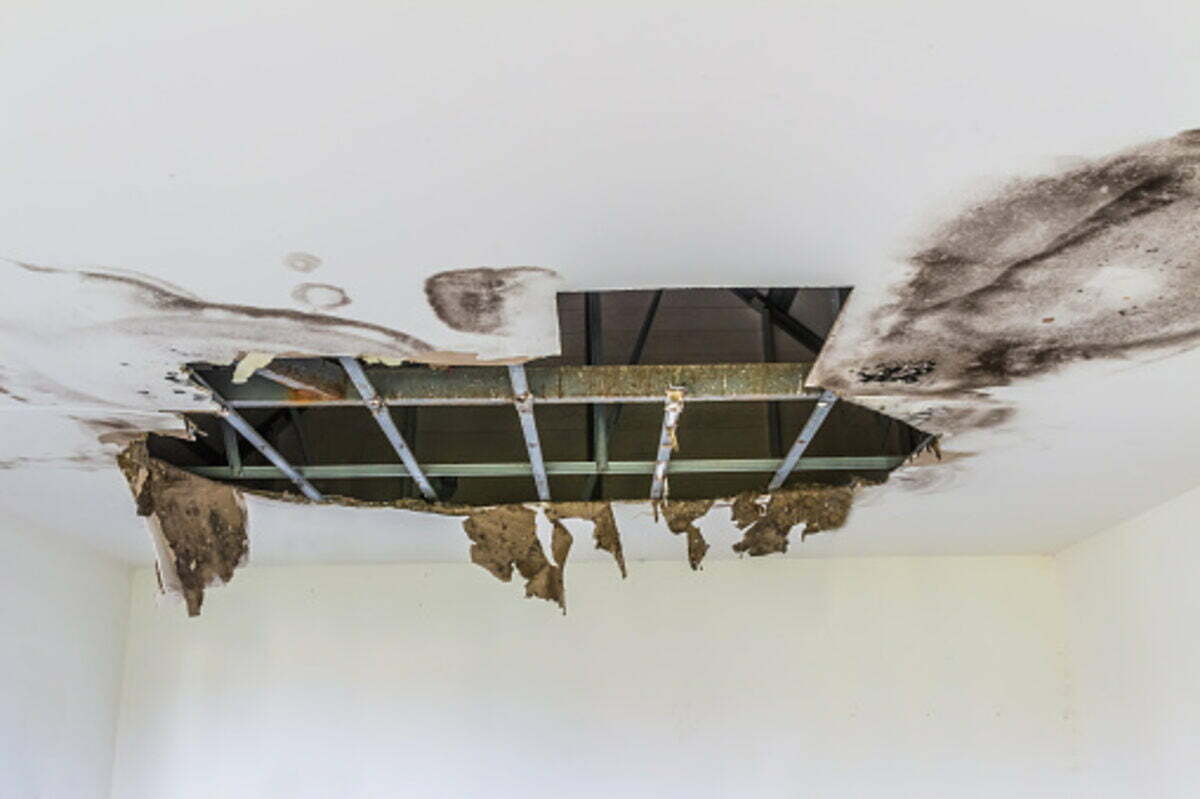
Providing a path for the water to drain
If you have a leaking roof, one of the first steps you should take is to provide a path for water to drain from the inside of the building. An excellent interior roof drain system should lead water to the pipes below the roof and then to a downspout on the side of the building. This will prevent water from damaging the walls and foundation.
Protecting a leaking roof with a tarp
A tarp will protect a home from water leaking through the roof. It should be long enough to extend one foot beyond the damaged side of the roof. To ensure it stays in place, you can use two pieces of 2x4s to tie it in. You don’t need to roll the boards up, but they will help secure the tarp and dry the roof.
First, measure the damaged area and purchase a tarp of the appropriate size. Typically, tarps come in multiple sizes and are available on any roof. After measuring the damaged area, roll out the tarp and lay it down, leaving a 4-foot overhang past the peak. Then, attach the tarp to a 2×4 using cap nails. Be sure to position the tarp in a way that prevents wrinkles.
To attach the tarp to a roof, place a 2×4 at the peak end and place it against the roof. The board should be longer than the tarp, as it will act as an anchor. Make sure the tarp is tightly secured to the board. If the tarp is too loose, it can easily tear.
Temporarily repairing a leaking roof.
The first step in repairing a leaking roof is identifying where the leak is coming from. You can do this by looking for light beams in the attic. Once you’ve identified the spot, you can trace the source of the leak through the ceiling. To do this, you’ll need a flashlight.
You can fix the leaking roof temporarily by placing tar or rubber shoes on it. Then, use a plastic sheet to cover the leaking area. You can purchase roofing plastic in four-foot-long pieces. Plastic over the leaking area will prevent water from getting inside and supporting the roof.
You can also use a tarp to protect the leaking area. This can be an inexpensive temporary fix. You can cover the leak with plastic sheeting until you hire a professional to fix it. This temporary fix is relatively simple and will help prevent further water damage. Roofing nails or other heavy objects will help secure the plastic sheet. Make sure to nail the edges down, so the tarp doesn’t blow off in the wind.